Your Administrator may have already created some Group Types for your church. You can use those to create new groups or you can create more! In this section, we will learn how to create a group using a custom group type that has already been created and we will add people manually.
Click Groups > Groups by Group Type > View All. A list of existing groups appears.
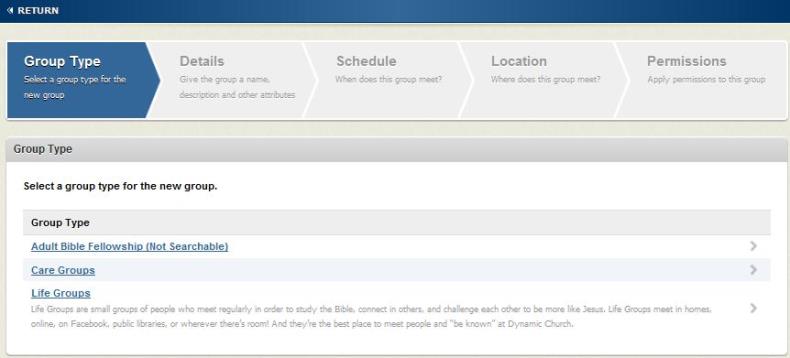
The first step is to select the Group Type you want to use. The number of group types you see depends upon whether or not your church has created custom group types, how many have been created, and to which types you have been granted security right access. As shown in the following image, the user has been granted access to three group types and can choose to create a group of any type listed.
In the next step—Details—you can do the following:
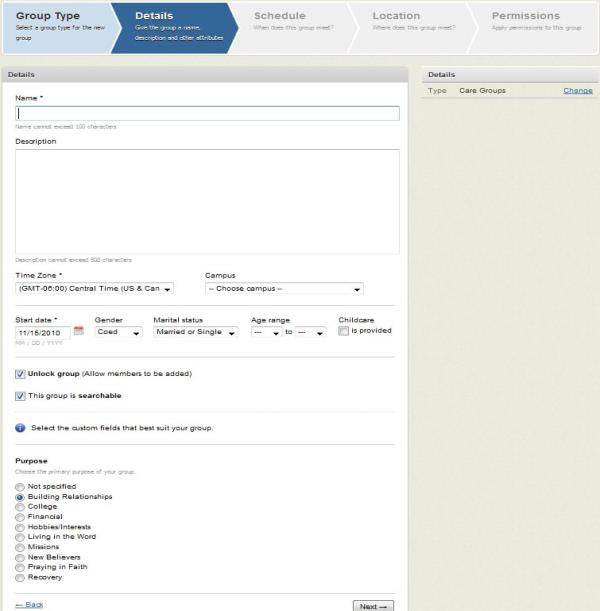
Click Next to move to the group Schedule step.
Optionally, configure the group's meeting schedule by entering meeting start and end times. You may also indicate whether this is a one-time event or a meeting with a recurring schedule. You may also choose Skip this step to skip adding a schedule.
Note: If you choose one time event, the group will become unsearchable once that event has expired. For example, if a one-time event is scheduled on July 1, 2011, the group will become unsearchable on July 2, 2011.
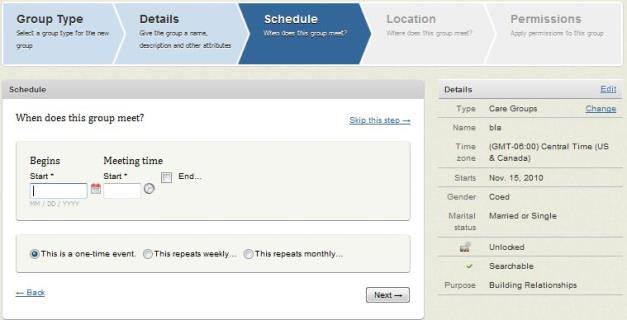
Click Next to move to the Location step.
Optionally, complete the location details. Choose whether or not the group meets in person or online. Note that the "in person" option expects a physical address to be entered. You must enter a city, state, and postal code; however, you may be generic in the street address field (for example, list cross streets or neighborhood instead of street address), this can be helpful for groups that rotate locations from meeting to meeting. Below the address you will also find the option to make the group's location private. This will render the street address invisible/private while still allowing a prospect to see the group's approximate location in a zip code search. Only members and leaders of the group can see the full address which makes this a good choice for groups that meet in leaders' homes. You may also choose to make the click Skip this step and enter the location at a later time.
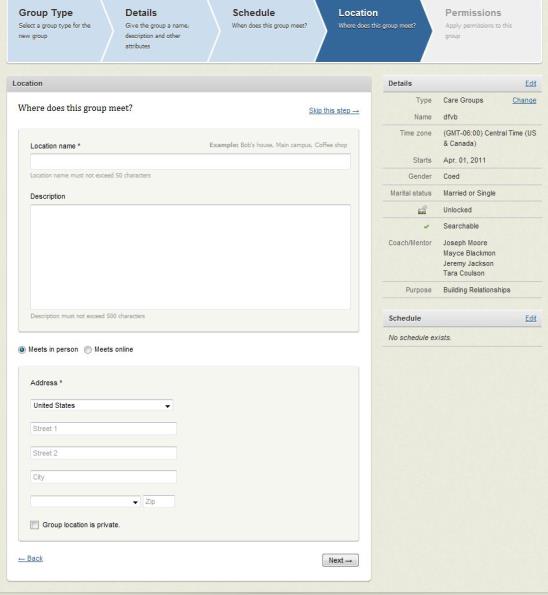
Click Next to move to the Permissions step.
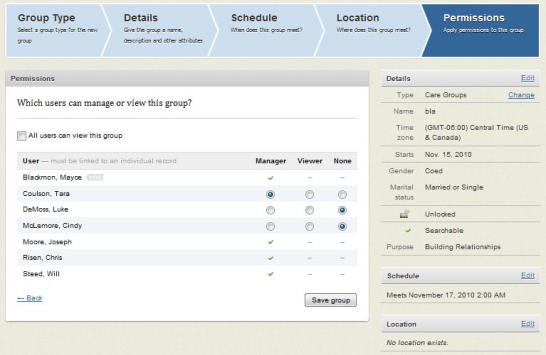
Permissions allows you to determine which Fellowship One users can see or manage your group. By default, all group managers (those that have been granted access to create groups of this type) can manage your group; however, all other Fellowship One users must be granted access if you want them to view or manage your group. In the image below, Mayce, Joseph, Chris and Will all have Manager access to this group by default (this was granted when the Group Type was created); however, the other users - Tara, Luke and Cindy- must be granted access to either manage or view the group.
Select one of the following:
Click Save group. You have just created a group! You can click Add people to this group to start adding group members and leaders.